Work Orders
If you're looking to get some quick tasks done, work orders are the way to go
First, what's a work order?
Work orders are intended for quick trips for things like warranty work or routine maintenance. This differs from Projects, which is where you build a complete estimate, schedule employees, assign materials, and generate invoices for the core of your business.
How to Create a Work Order
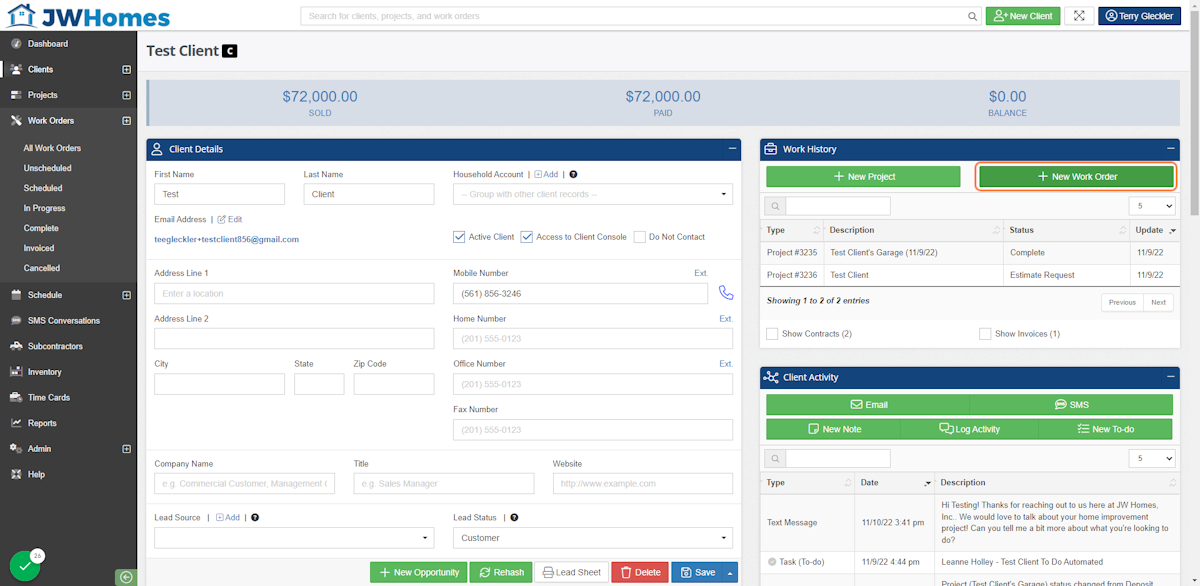
1. Option 1: From the Client Record
Create a work order from the client record. This will automatically assign the client's information to the work order.
2. Option 2: From the Work Order Section
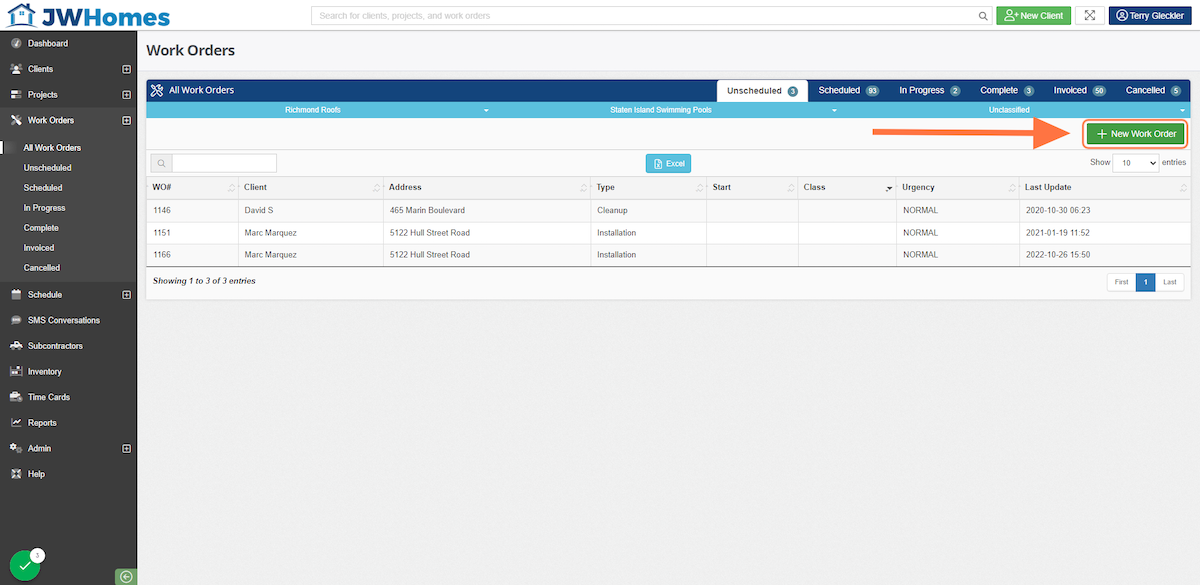
Work Orders can also be generated from the Work Orders section, where you'll have to assign the client.
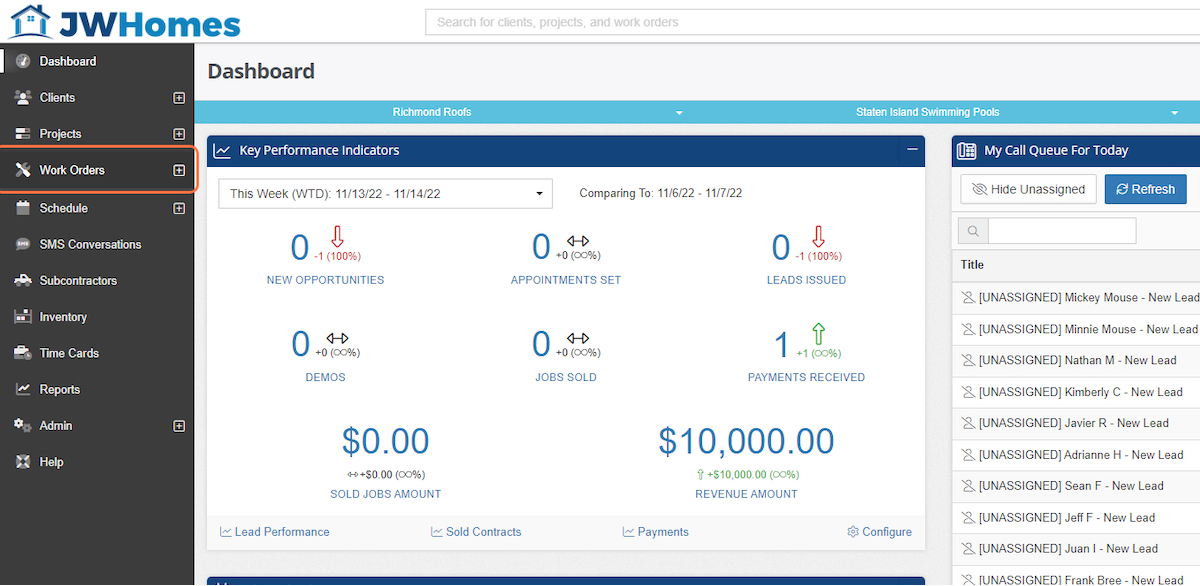
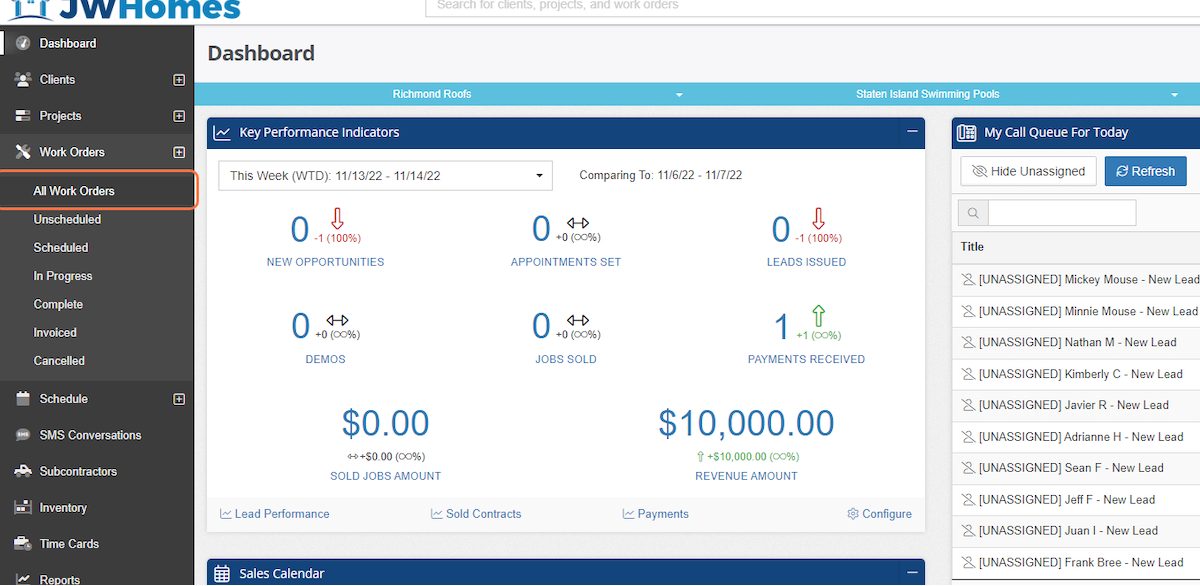
3. Click on All Work Orders
4. Click on New Work Order
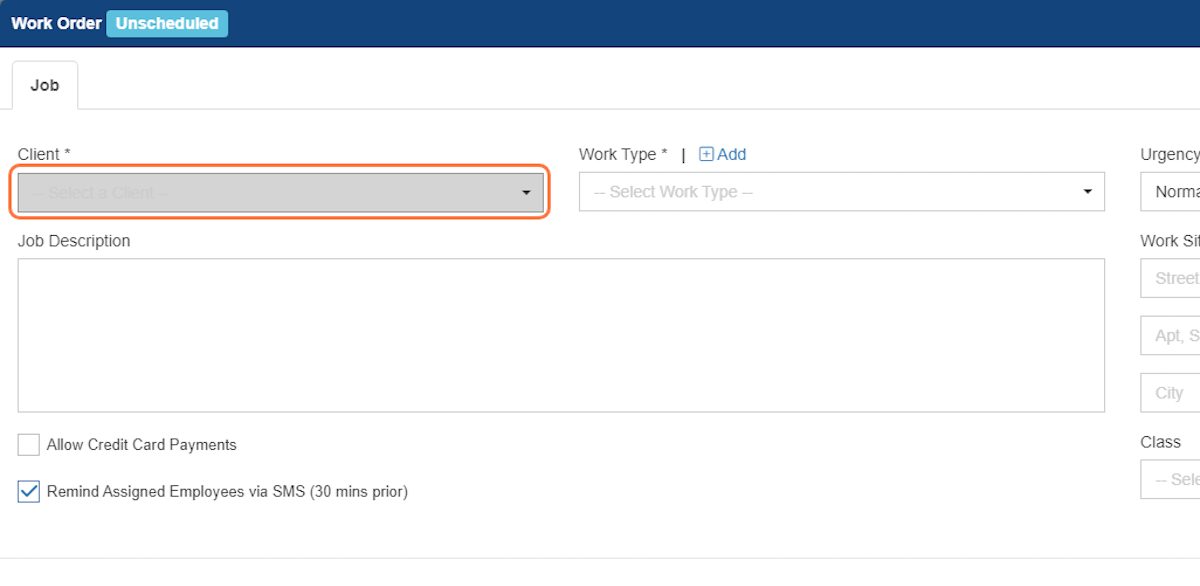
5. Select a Client
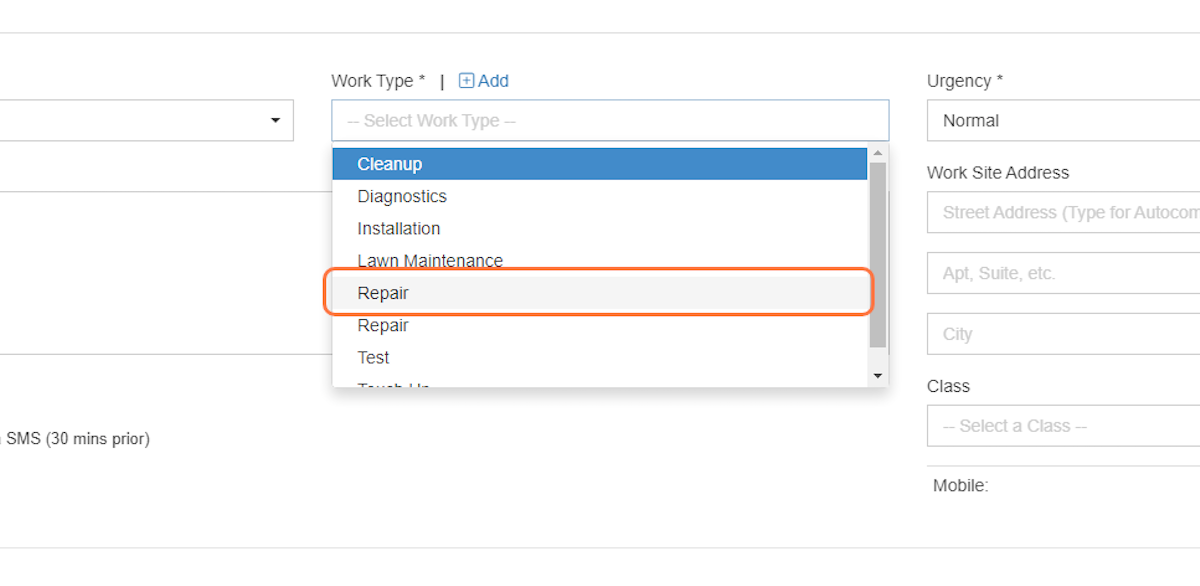
6. Select Work Type
Different Work Order types can be added from this page by clicking '+Add', or they can be added in Admin > Configure > Production.
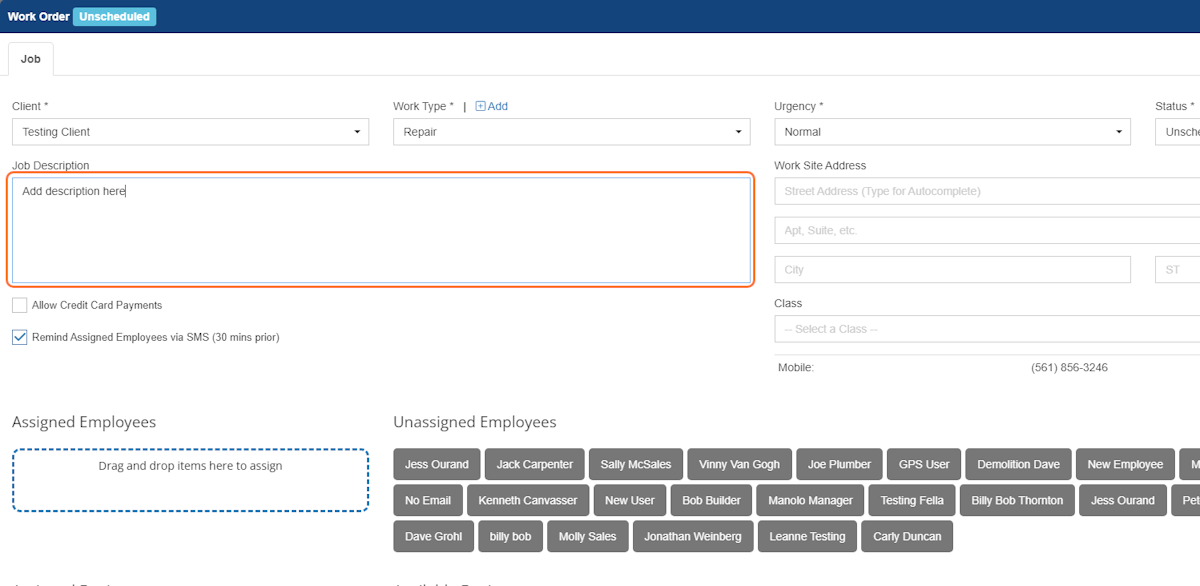
7. Optional: Add a description
This is a place to add notes for any employees who will be completing the work order.
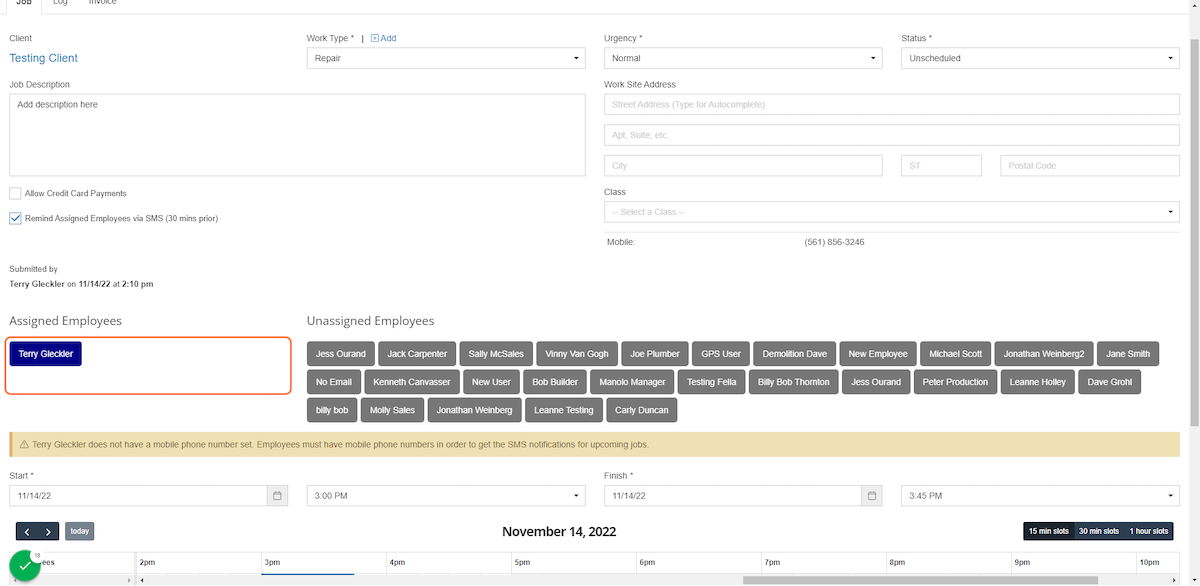
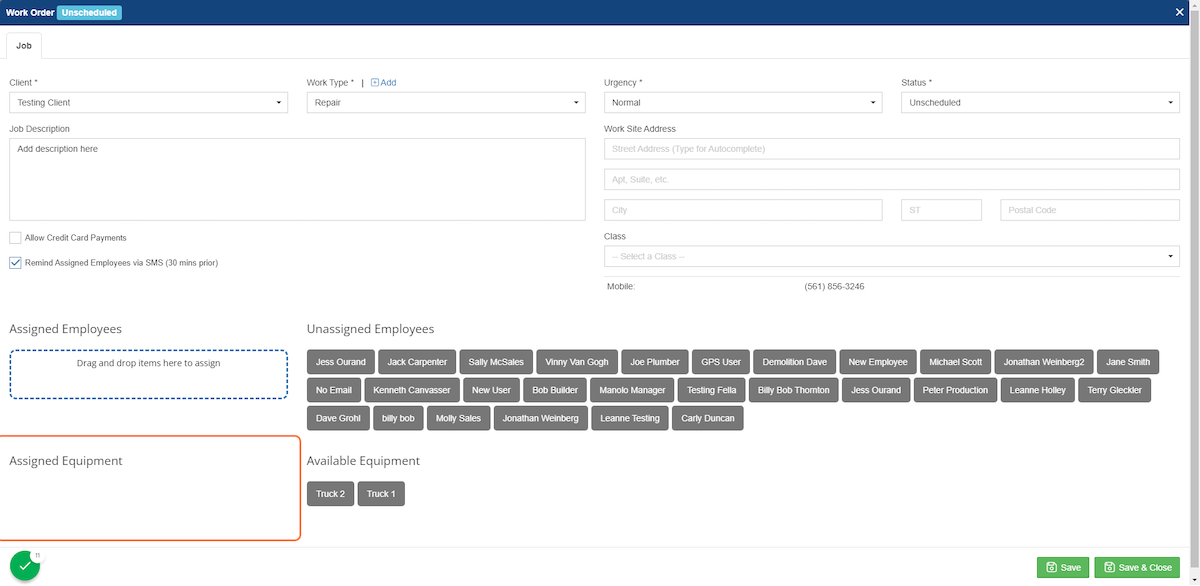
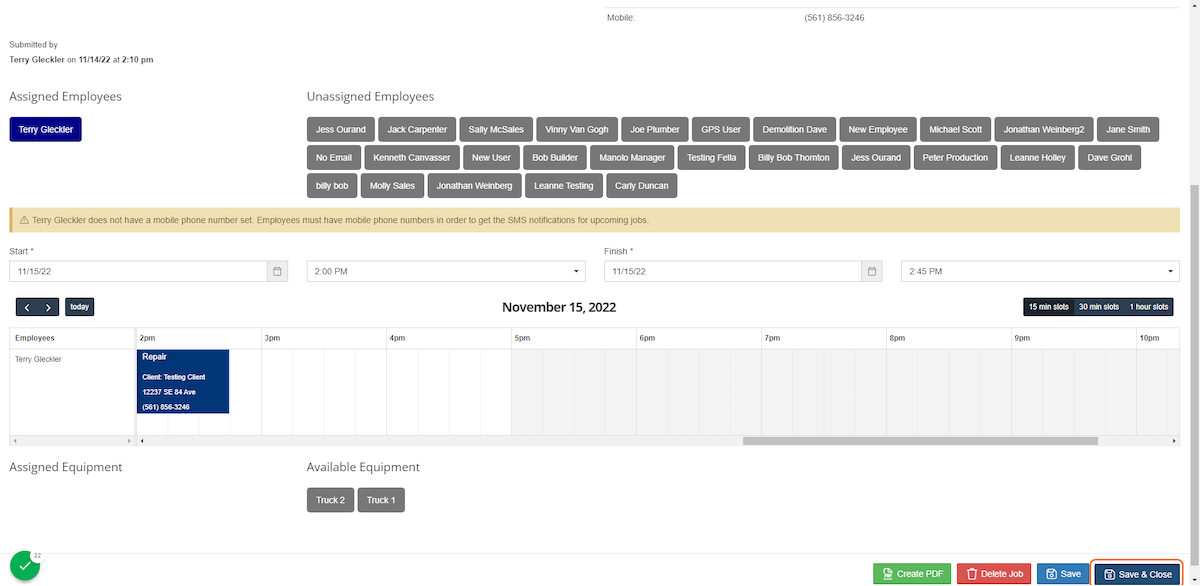
8. Drag and Drop to Assign an Employee
9. Drag and Drop to Assign Equipment
10. Schedule
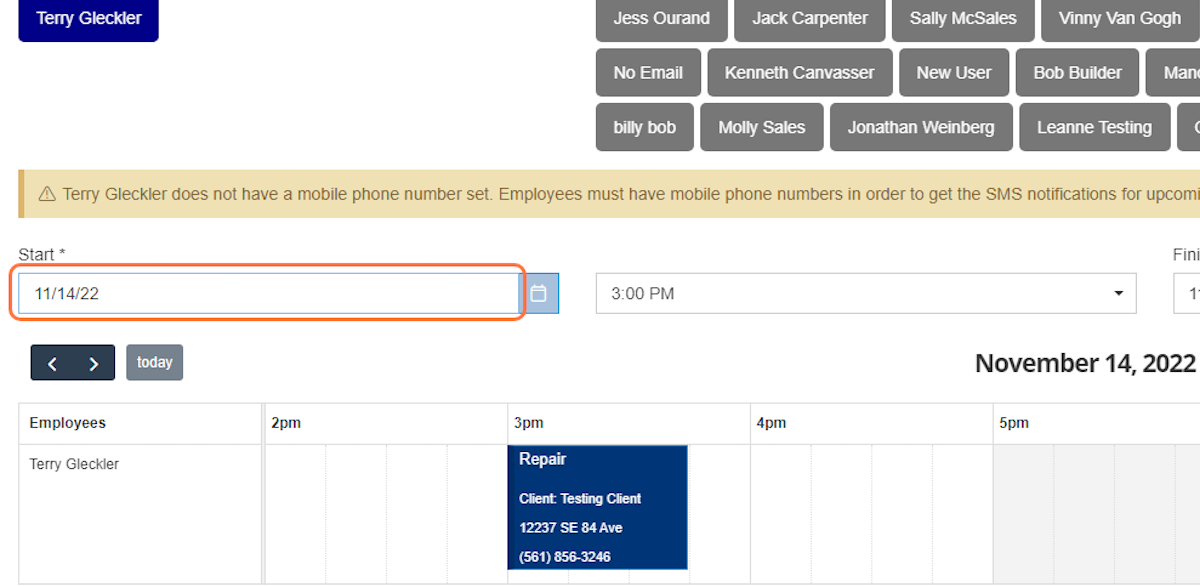
Choose a start date and time for the Work Order. These can be used in an email or SMS template that can be sent to the client.
The scheduled Work Orders are viewable on the Production Calendar.
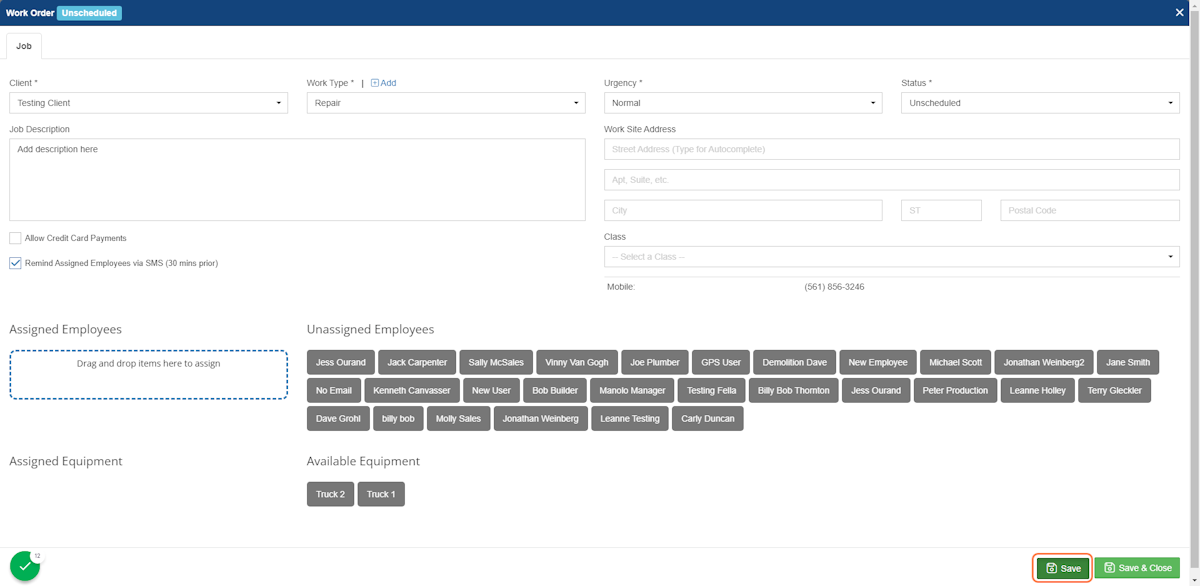
11. Click on Save
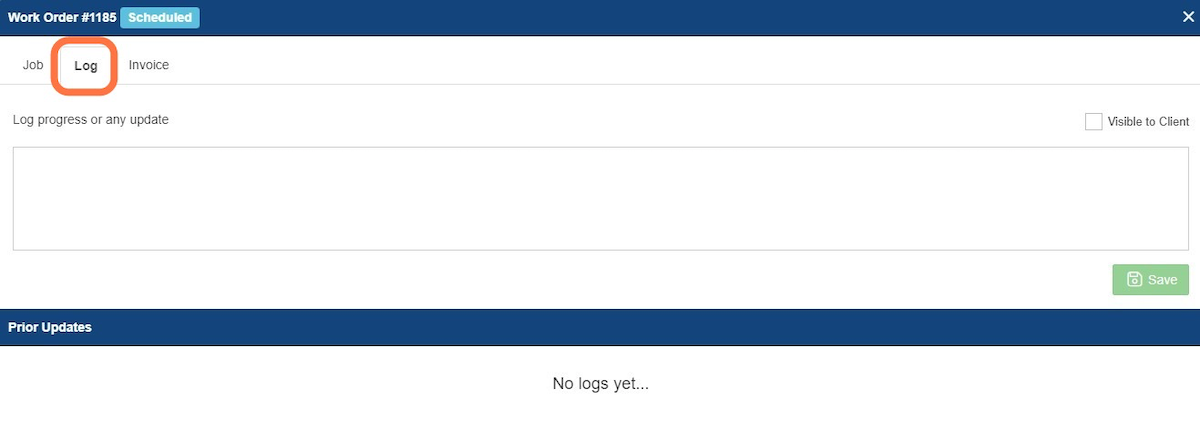
12. Click on Log
Each Work Order has a log for the assigned employee to add important notes.
13. Click on Invoice
If the work being completed requires payment, an invoice can be generated in the Invoice tab. Please note that this will move the Work Order to the 'Invoiced' status. You are unable to send this invoice for payment via email, but you can still accept credit card payments through the built in processor. It will require manual entry by an employee.

14. Click on Save & Close
-1.png?width=100&height=75&name=original-tar-ruler%20(1)-1.png)