Setting Up Classes
Classes are a useful way to group clients and projects if you have different companies, different locations, or just different segments of your business.
Classes Intro
Using separate classes you can:
- Include the Class location and contact information on communications, including estimates.
- See how each segment is performing with Class-specific filtering on reports.
- Keep the calendar organized by Class.
- Create unique automations for each Class.
Classes are available starting with the Multiply plan. If you're interested in upgrading your current subscription, click HERE to learn how to upgrade your account.
How to Add a New Class
Navigate to Admin > Configure > Classes
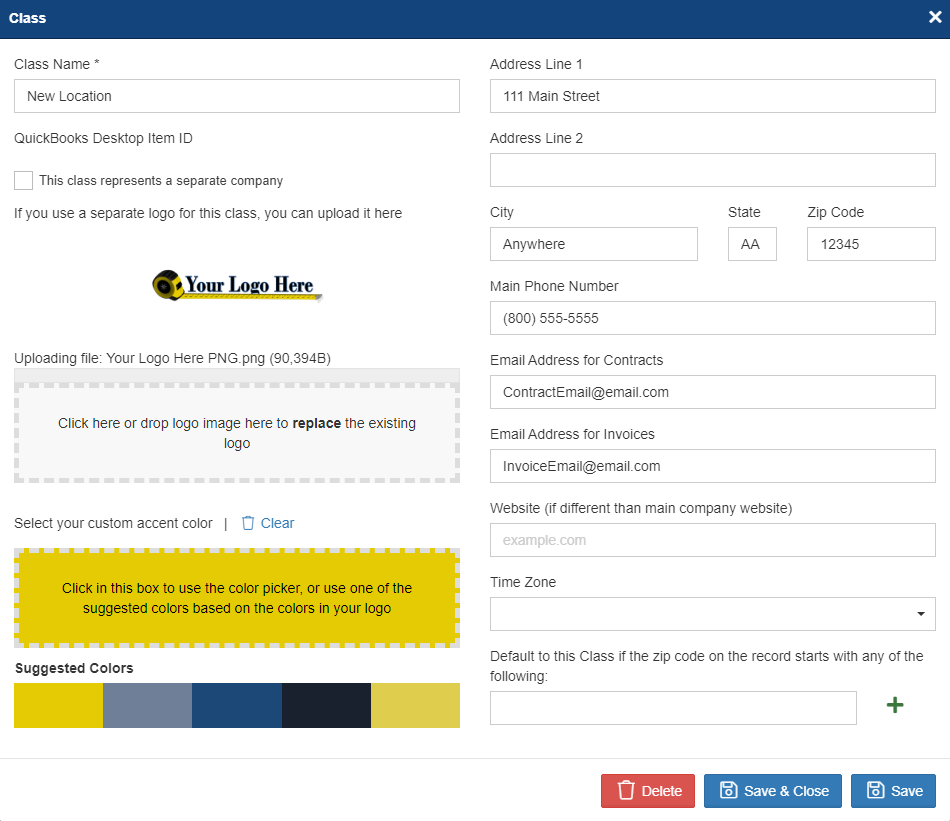
Click + New Class and fill in company information.

Class information can include location information, location logo, custom colors, contact information, and other relevant information for the entity or location.
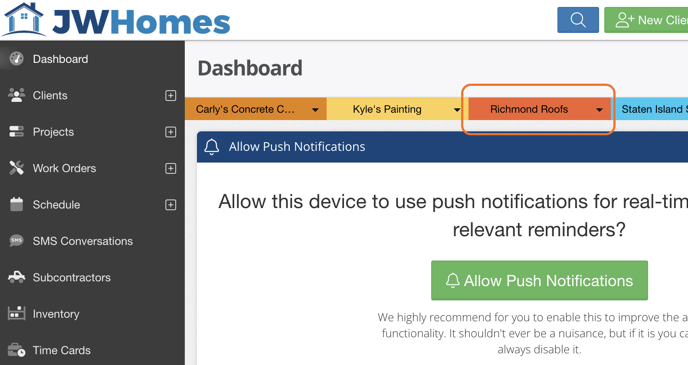
Once the Class has been created, there will be a new banner on the dashboard page that allows you to see the different classes and filter the information.
Assigning Classes to Clients and Projects
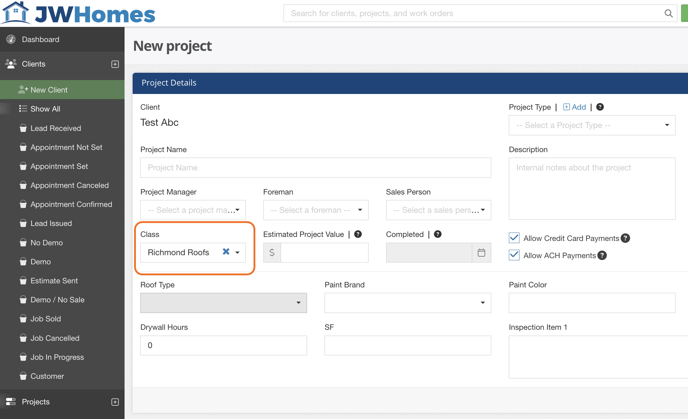
When a Class is assigned to a Client, then this will automatically assign the Class to a project.
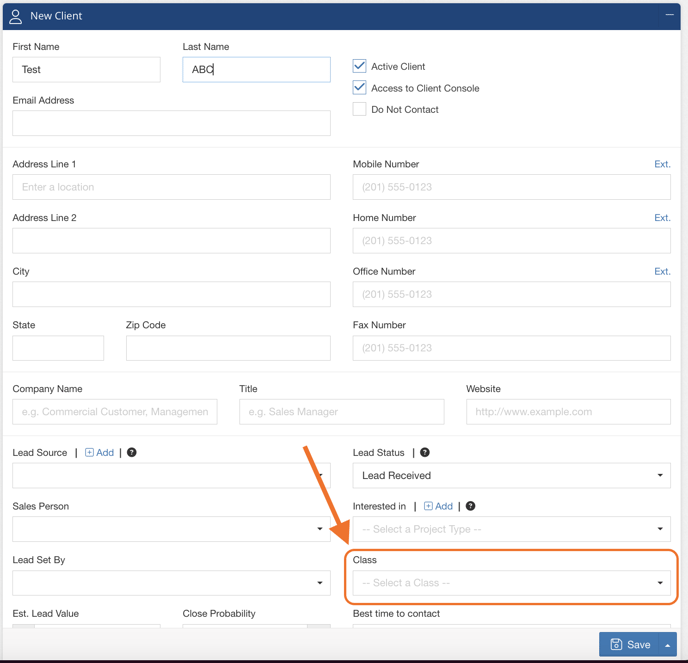
If a Class is not assigned to a Client, you still have the option to add a Class to a project when creating the estimate.
Using Class Information in Templates
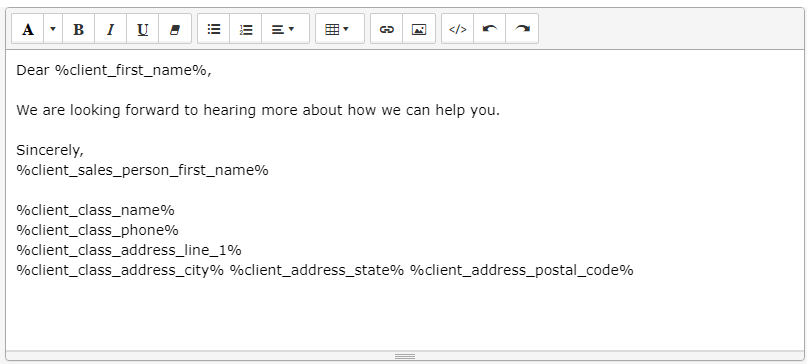
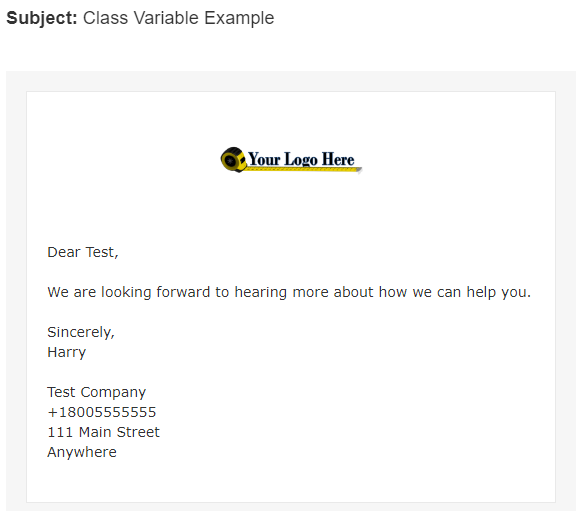
Update email/SMS templates to include Class information with variables. If no class is assigned, then these variables will be blank when sent.
Variable Guide for Email/SMS Templates
When creating templates, the variables with class information will begin with the following:
- Context: Project
- %project_class_
- Context: Work Order
- %work_order_class_
- Context: Meeting
- %assigned_client_class_
- Context: Client
- %client_class_
The ability to add Classes is available starting with the Growth plan. Click HERE for information on how to upgrade your account. If you have any questions or need assistance setting Classes up, please reach out and we'll be happy to help.
-1.png?width=100&height=75&name=original-tar-ruler%20(1)-1.png)