-1.png?width=100&height=75&name=original-tar-ruler%20(1)-1.png)
The Builder Prime CRM allows you to automatically import lead information to the platform via our open API or Zapier integration. When entering a lead manually into the platform, however, you'll want to enter as much information as is helpful for your sales team.
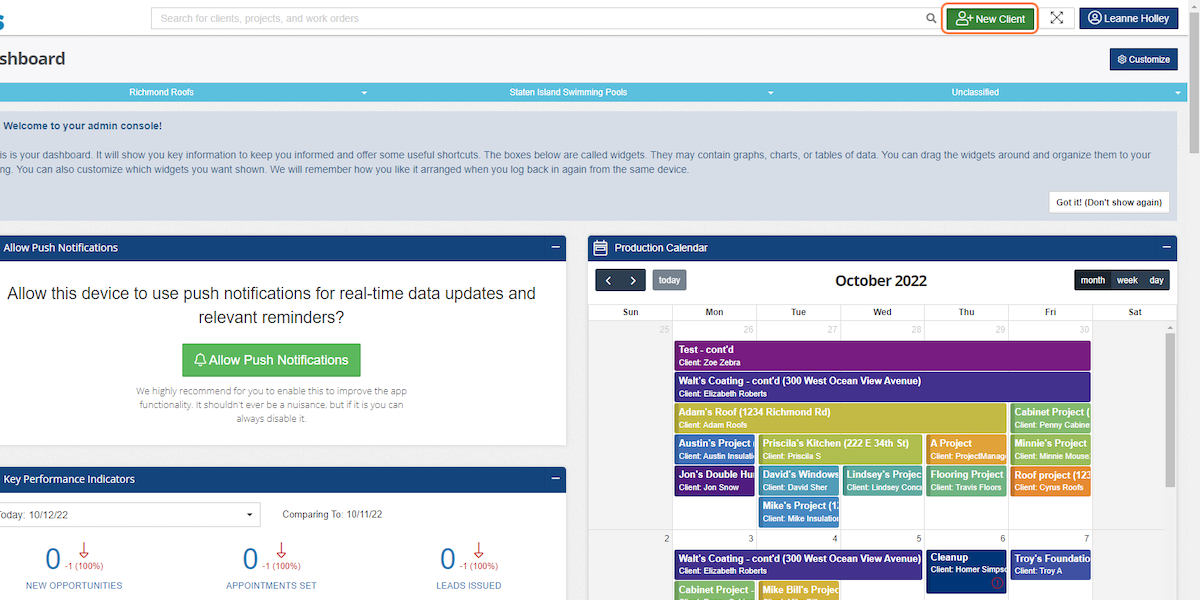
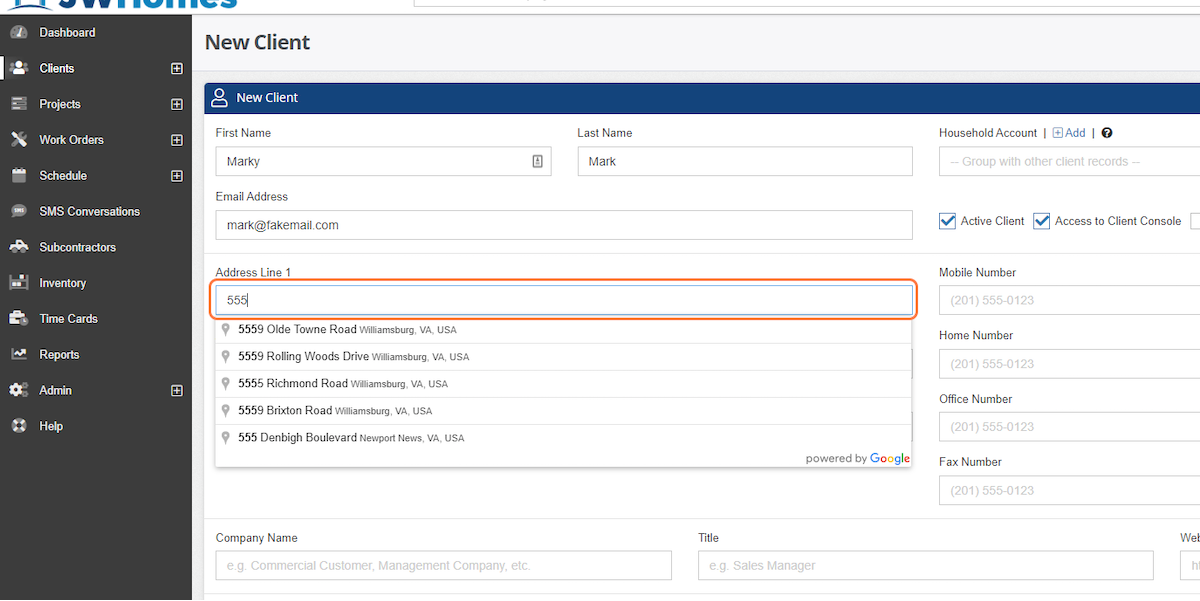
Click on New Client from any screen
Enter the client's First Name
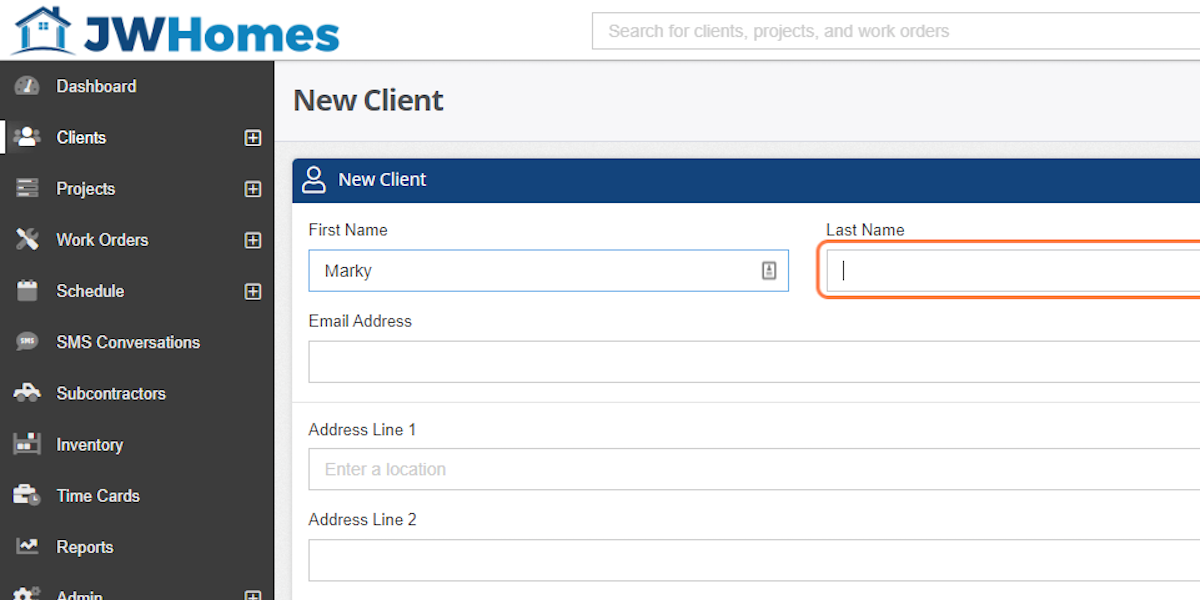
Enter the client's Last Name

Add an Email Address
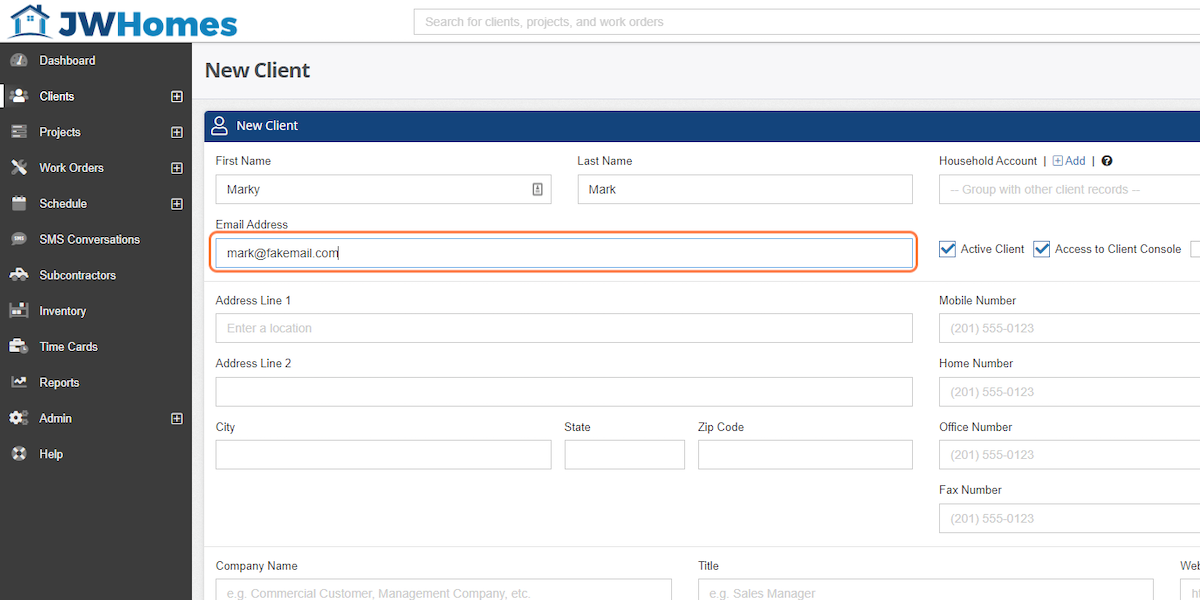
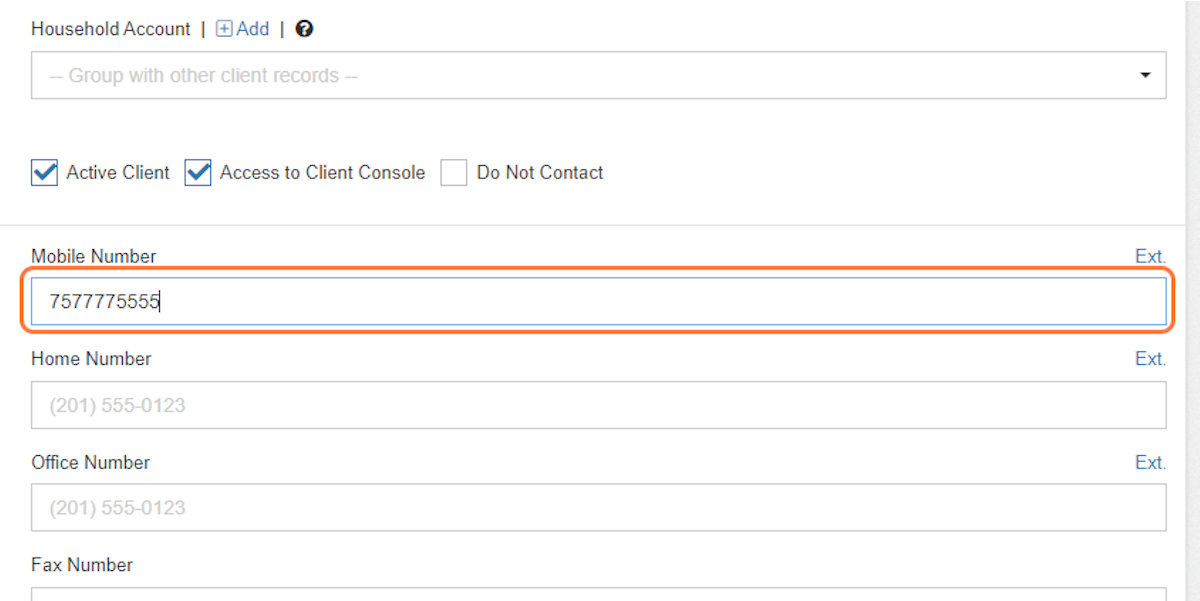
Active Client, Client Console, & Do Not Contact Check Boxes
Active Client: Unchecking this box will hide the client from the list when viewing a particular lead status. If they're not actively within your funnel, or no longer wish to display their information when viewing a particular lead status, marking a client inactive will hide them from your lead statuses, or "buckets".
Access to Client Console: Builder Prime maintains a Client Console, where your customers are able to view any contracts or invoices shared with them. This Client Console is where e-signatures for contracts, and electronic payments for invoices are made. Unchecking this box will disallow the client from accessing the console, preventing them from accessing contracts for e-signature, or invoices to be paid online.
Do Not Contact: Checking this box will flag this lead as a "Do Not Contact", making it explicitly clear not to follow up with this lead. It's a simple visual reminder not to reach out to this client for future sales opportunities. It will also prevent any automated communications from being sent to the client.
Add the Client Address
Note that the address will auto-populate from Google when you start typing.
Add phone numbers
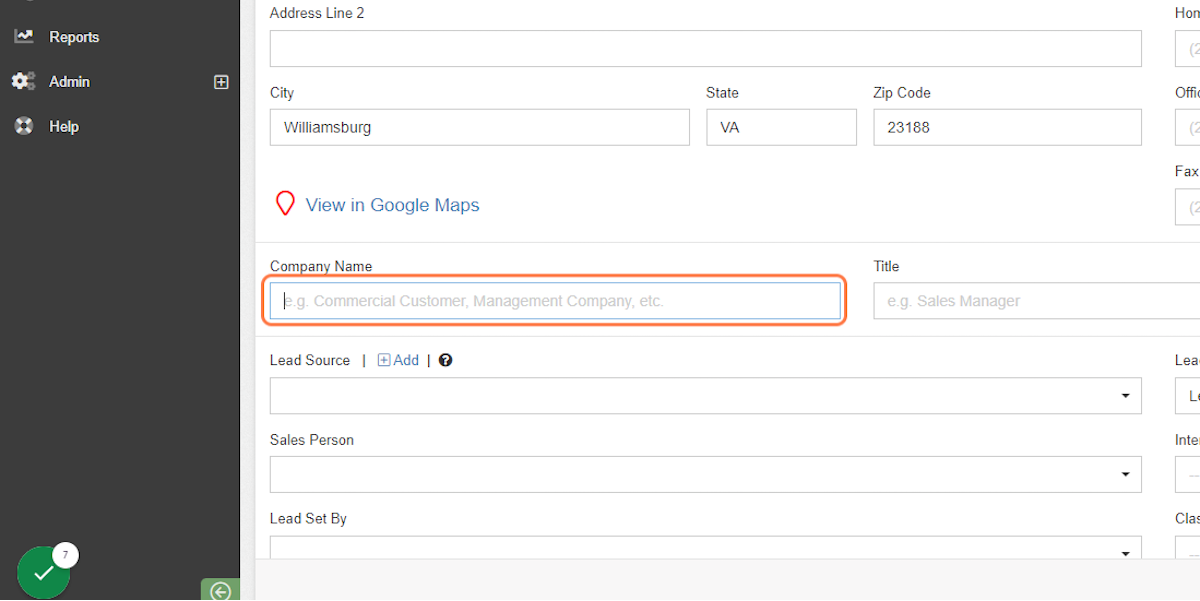
Add Company Name, if needed
This is most often utilized for Commercial clients.
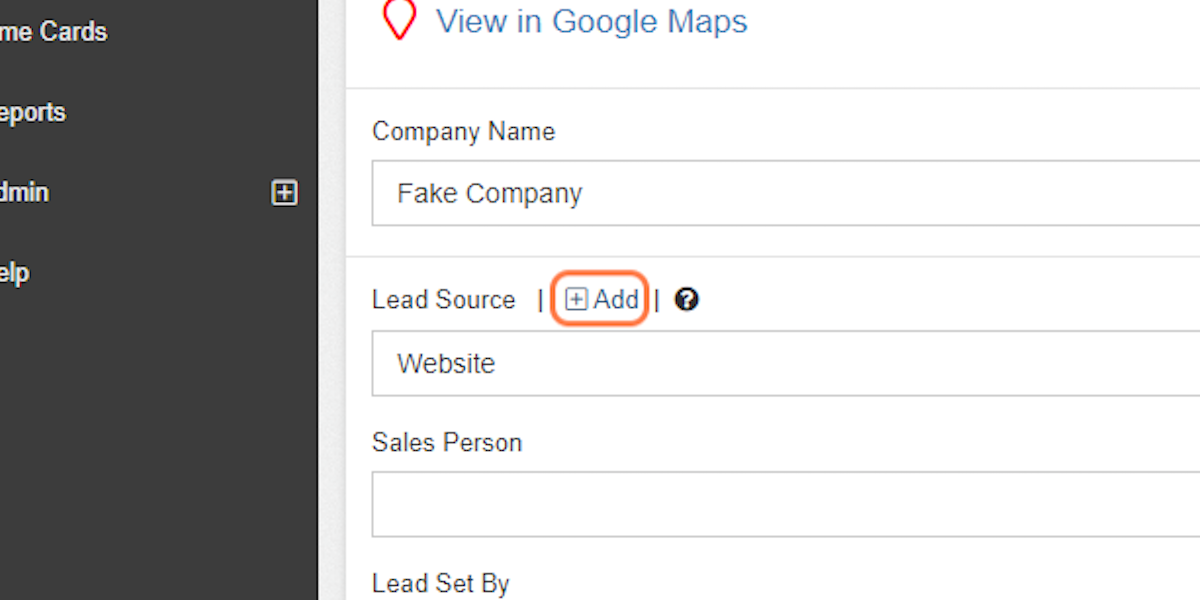
Add a Lead Source
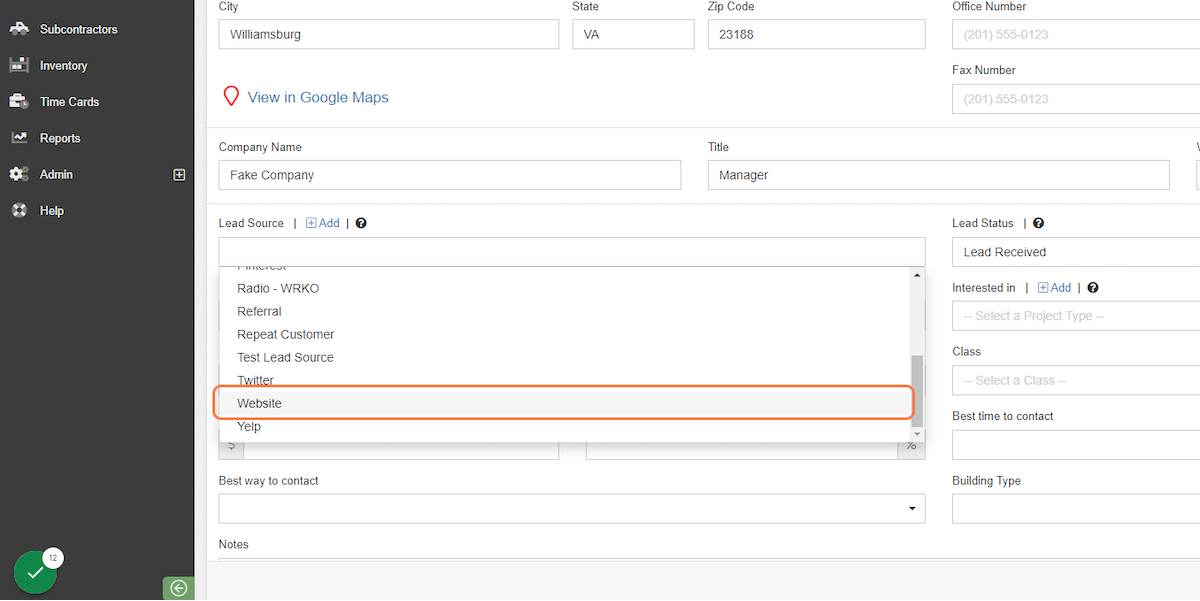
Create a new Lead Source, if needed
Simply click the +Add link next to Lead Source to create the new Lead Source. This comes in handy when the client comes from a Lead Source outside of your typical Lead Sources.
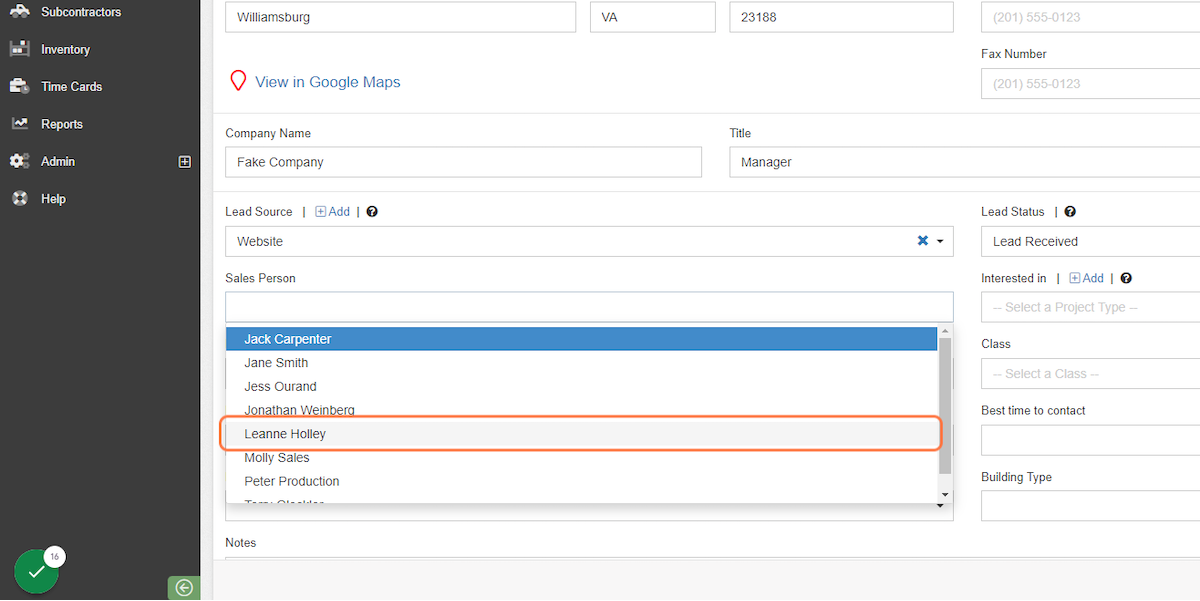
Optional - Assign a Salesperson
It is recommended, but not required, to assign a Salesperson. This field can be updated later.
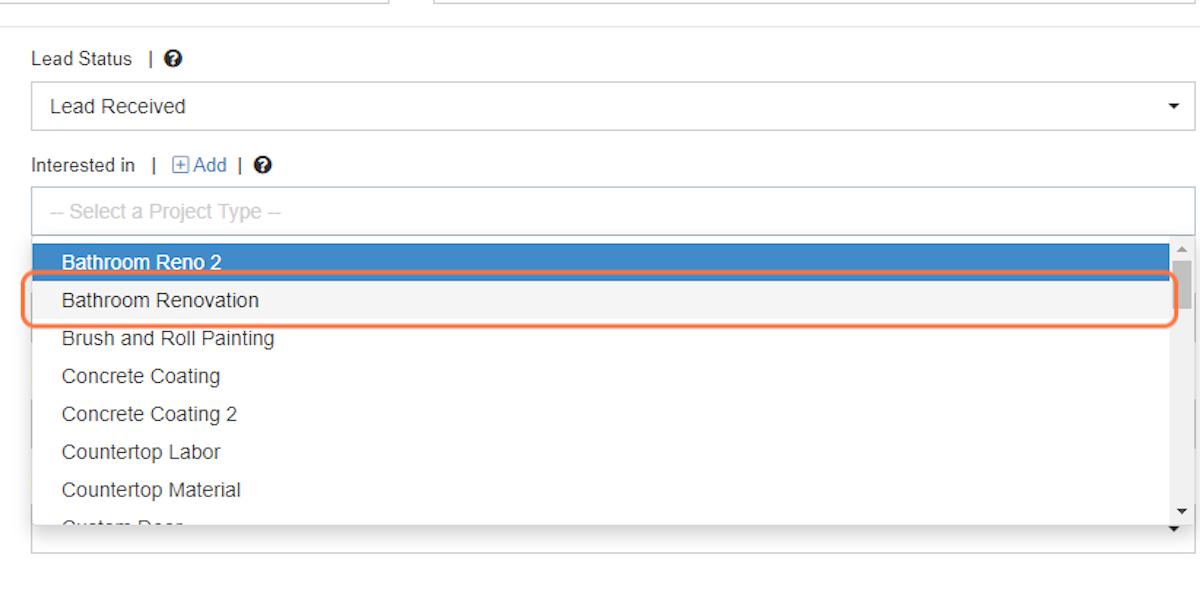
Optional - Select the kind of project the customer is interested in
You can also add a Project Type by clicking the +Add link next to Interested In.
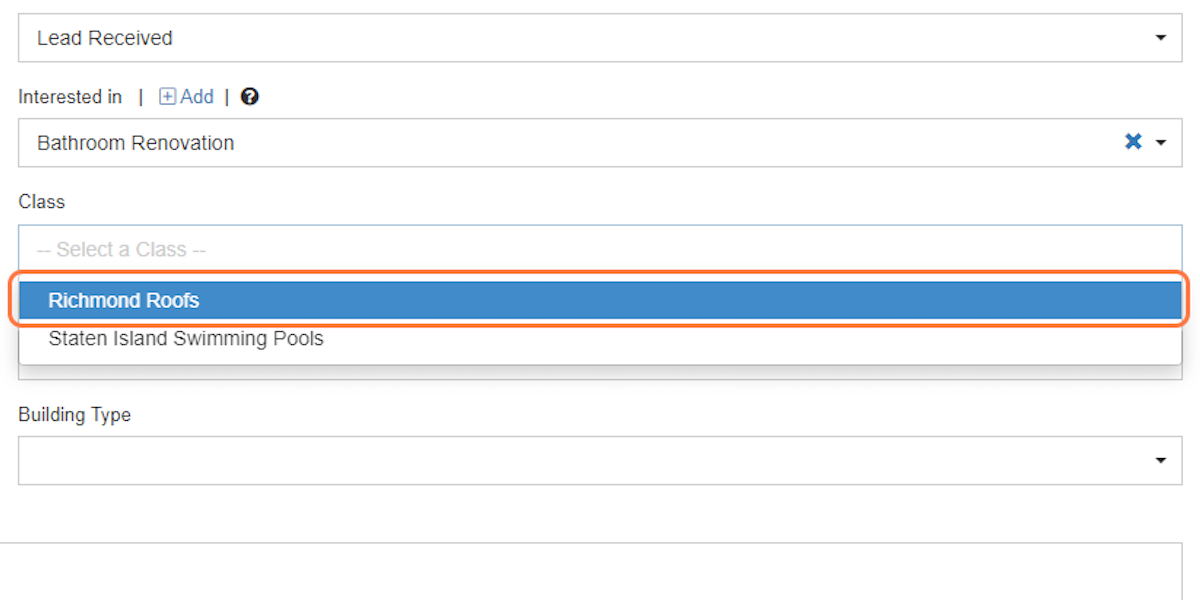
Select the client's Class
If you use Classes for separate locations or divisions, you can assign the appropriate class to the client. You can leave this blank if you are not using Classes, or if you're unsure which class they belong in at the time, they will automatically default to the Unassigned class.
Optional - Estimate your lead value

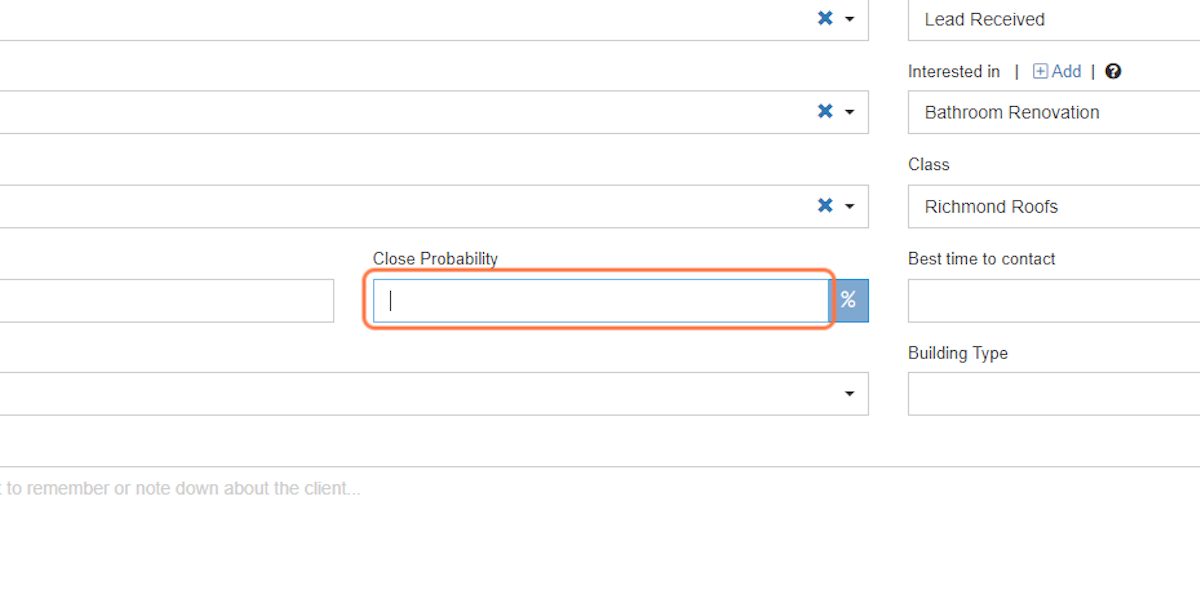
Optional - Estimate the close probability rate
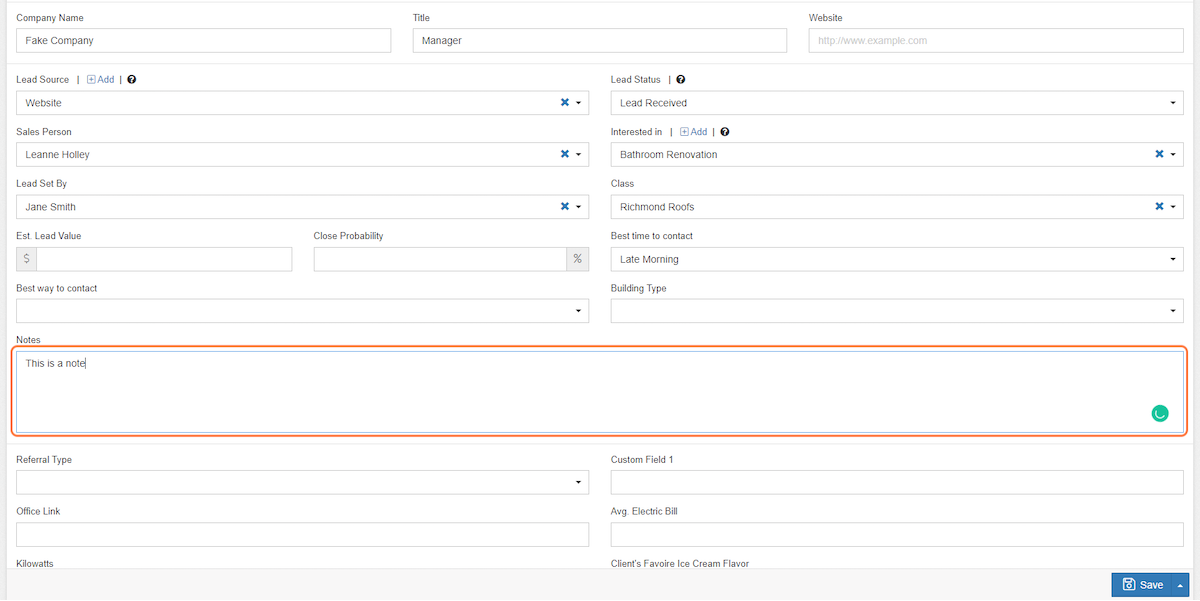
Add any relevant Notes to the client record
Pro Tip: record any relevant information that will help the Sales team or other users that are specific to this client.
If you have any Custom Fields, they will be at the bottom of the client record.
Learn more about custom fields HERE.

Click on Save