Project Type Management
The Project Type is one of the key attributes that you can set on your client and project records to help with categorization and reporting
The first place you will see the option to use project types is in the Client record when adding or modifying the information for a client. You will see the Interested In field as shown below with your project types listed.

This item can be found in the Client Record screen. Click on the drop-down to select a project type.
The second place where you will see an option to choose a project type is on the project itself. If you set the project type on the client record using the Interested In field, it will automatically set it as the project type when creating a new project for that client, but you can always change it if it needs to be something different.

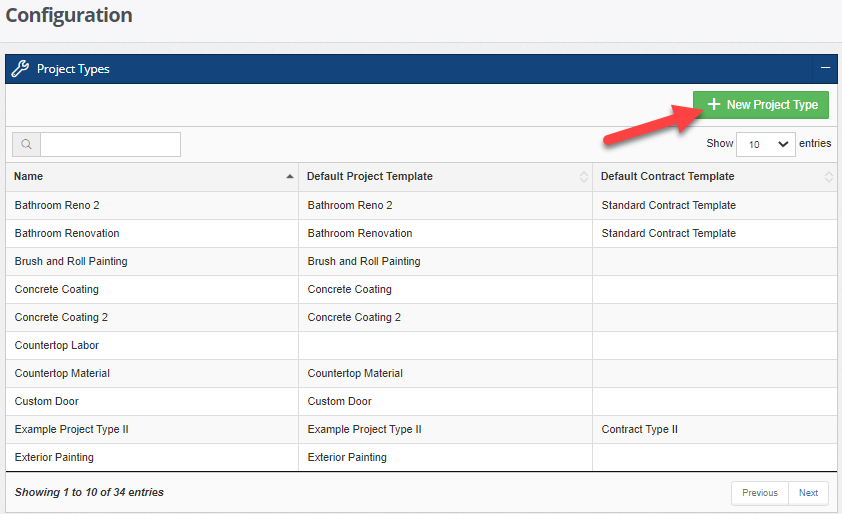
You can create a new project type for this Interested In drop-down right from the client record itself by clicking the Add link at the top of the field. Otherwise, you can add and manage your list of project types by navigating over to Admin > Configure > Project Types. Click on the green “New Project Type” button at the top right portion of the widget screen to add a new one, or click on any of the records to manage an existing one.

In this example, we created a new Project Type named “Concrete Coating”. We also selected a default project template that also happens to be titled “Concrete Coating”, to incorporate the tasks that will be followed along with this project. (We will discuss how to create project templates in another article.) This way, we can make sure that the project will be implemented accordingly.

There are two key attributes that you can set on a Project Type record. They are Default Project Template and Default Contract Template. These attributes will help to establish some automations and shortcuts should that be helpful for your workflow. Here is a description of all of the fields you see above:
Project Type Name: This is the name of the project type that you will see shown in the drop-down fields and in the reports.
Default Project Template: In this example, we selected a default template also called "Concrete Coating". We will discuss more about project templates in another article, but the idea here is that by selecting a default project template, the system will automatically import all of the tasks into a project if you select this project type upon creating a new project.
Default Contract Template: Selecting a default contract template can be handy if you have specific options, terms and conditions, or payment schedules that you would want to include in a contract for this particular project type. We will discuss more about contract templates in another article.
-1.png?width=100&height=75&name=original-tar-ruler%20(1)-1.png)