Photo and Document Storage
Every project in Builder Prime contains unlimited photo and document storage. This helps keep your information organized and easily accessible
Table of Contents:
Photo Storage
You can upload photos directly into the project from any device or take them with your mobile device while using the Builder Prime mobile app. While there are file size limits depending on which account type you have, you can upload as many photos as you’d like.
In this example, we are adding photos to a project on the "Photos" tab.
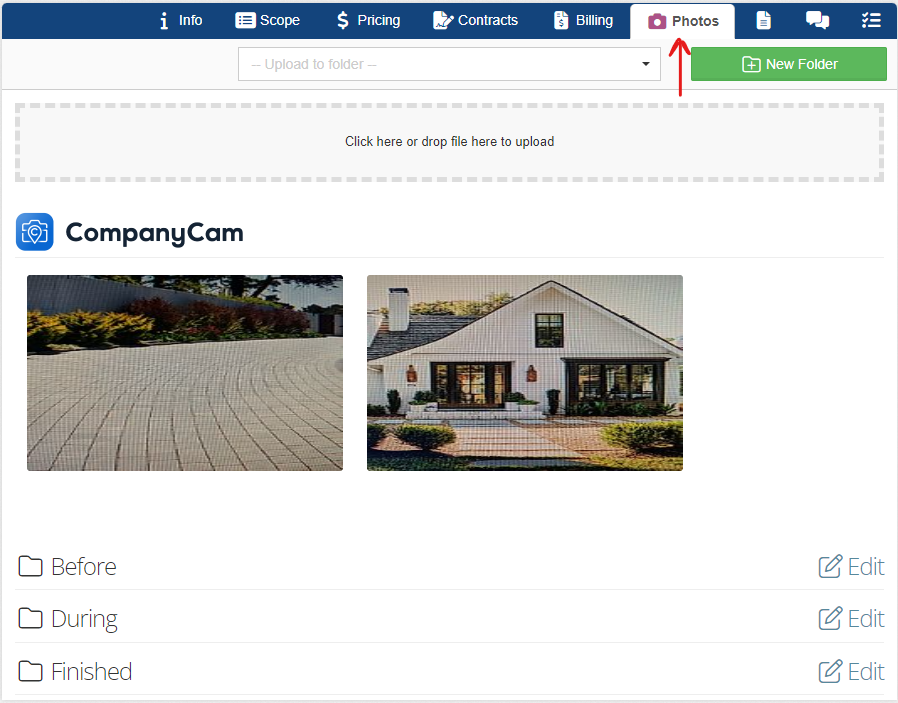
You can also attach photos to estimates, add them to a log entry, and keep them organized with default project photo folders.
Before we dive in, we have a great integration with CompanyCam, and more information can be found HERE.
Adding Photos to Estimates
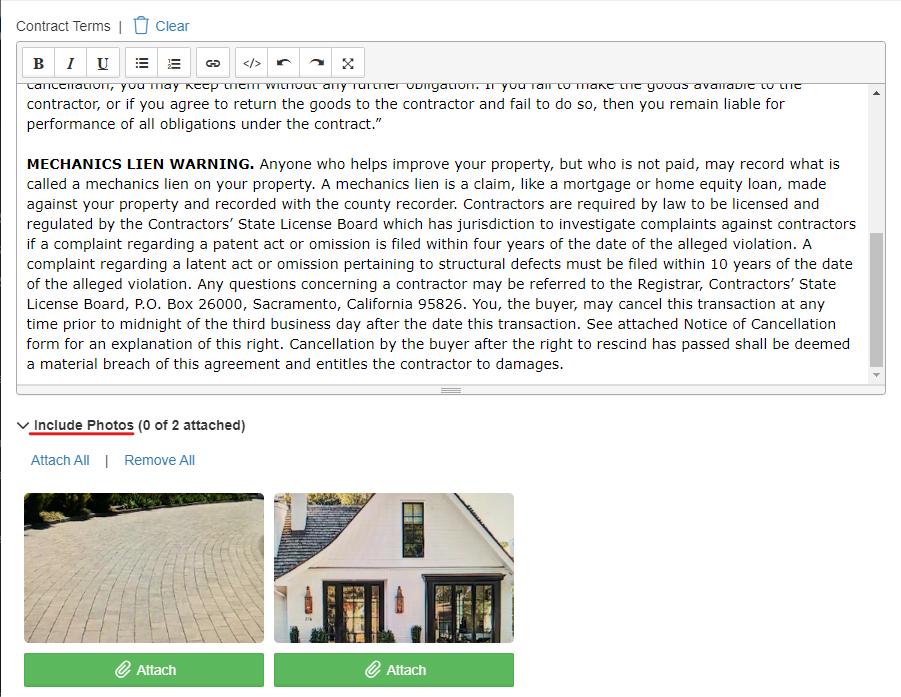
If you upload the photos prior to generating a contract, you’ll see the option to append these so they are included with the estimate. The photos will be added to a separate page of the estimate for your client to review.
Log Entry with Photo
If there is something you’d like to highlight in the project log, you can attach one of the photos with a longer commentary using the free text box. Click the photo placeholder to select which picture you want attached to the log entry.

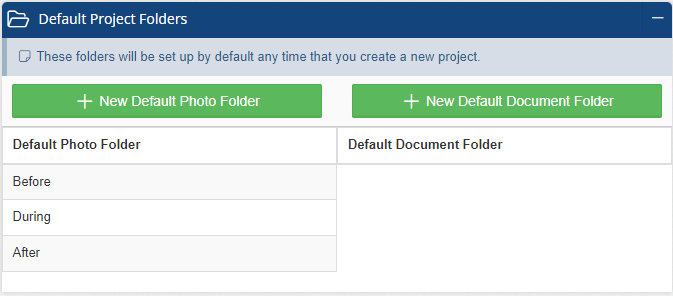
Default Photo Folders
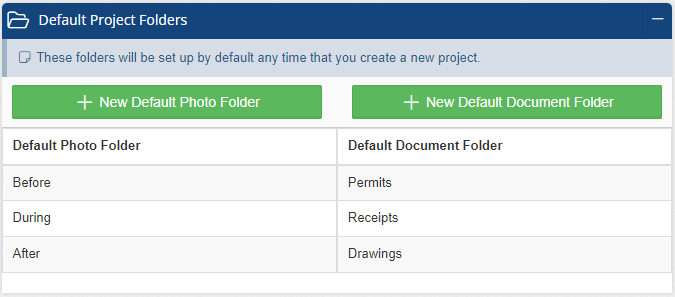
It can be helpful to set up default photo folders for other users to upload their images into. Examples include Before, During, and After folders as well as a folder for team members to upload images of receipts when they had to make a project-related purchase. To set up default project folders, navigate to Admin > Configure > Project Settings.
Document Storage
In addition to unlimited photo storage, there is also unlimited document storage. This is used a variety of different ways, from uploading permit documents, PDFs of drawings, or documents with additional information specific to the project.
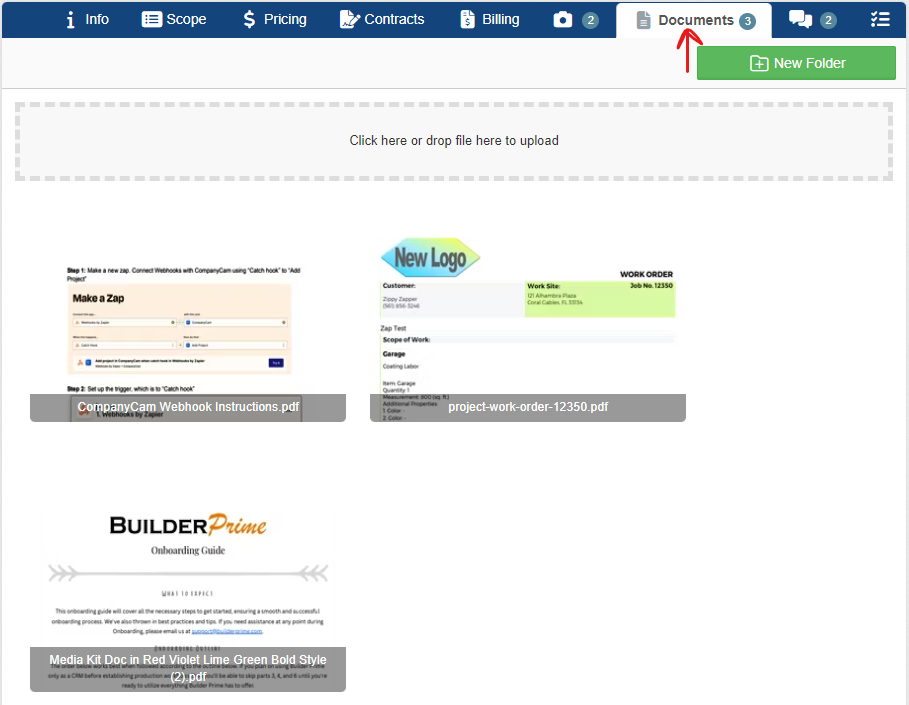
Adding Project Documents to Contracts
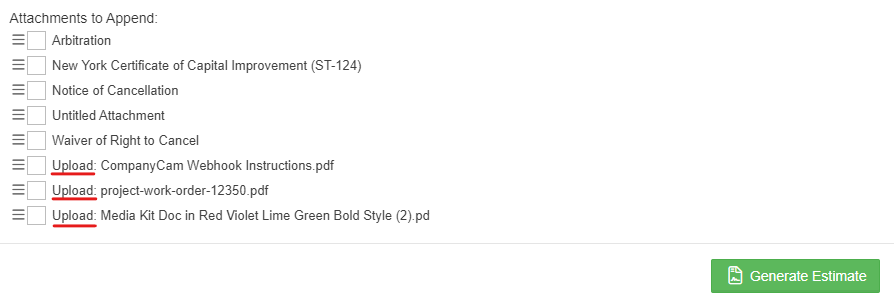
Any documents uploaded into the Document tab of a project can be appended to a contract as well. This is particularly useful when drawings need to be included. To include a document with the contract, simply click the button to generate the contract and check the box next to the upload you’d like included with the estimate.
Similar to photo storage, you can also set up default Document folders to keep things organized. This can be set up under Admin > Configure > Project Settings.
For a more detailed overview of how to create and manage a project, please refer to one of our most popular articles: How to Create a Project Estimate
-1.png?width=100&height=75&name=original-tar-ruler%20(1)-1.png)