Labor and Material Assignments
Assigning labor and materials to projects is crucial for efficient resource utilization and job costing for accurate profit margins. Follow this article to understand the process in Builder Prime
Subtasks
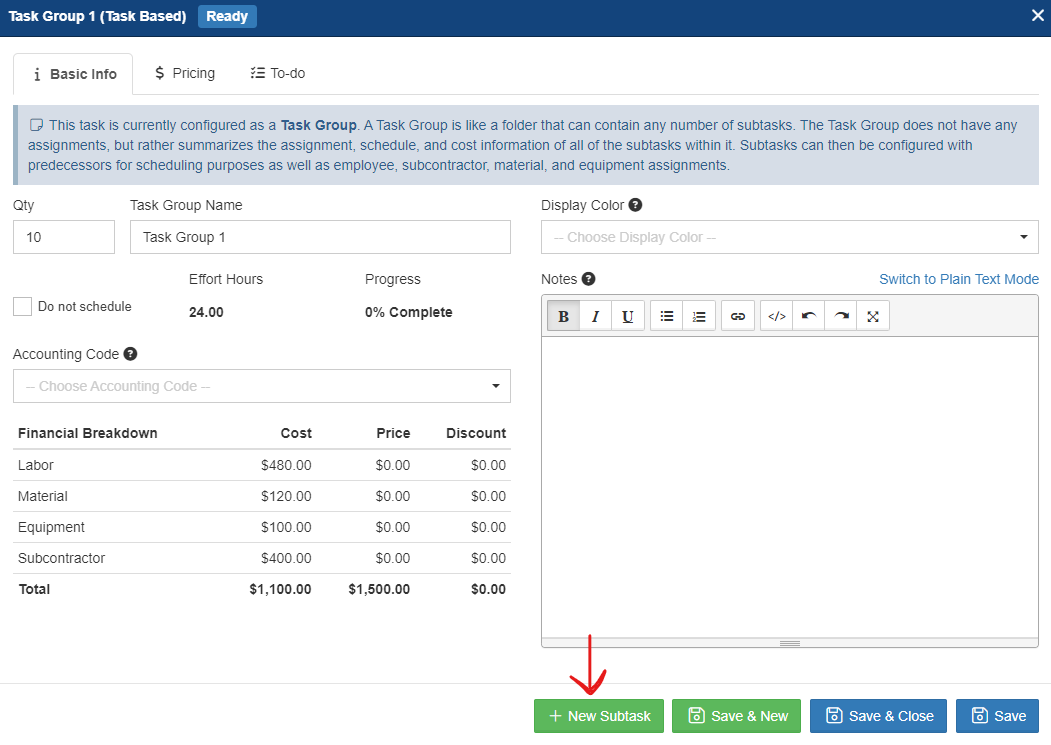
Before assigning labor or materials to any project, there must be a subtask. These can be templated or added manually through the Grid view of a project.
Labor Assignments
Assigning labor to projects is a crucial part of project management. It ensures that your team is working on the right tasks and that resources are allocated effectively.
Method 1: Assign Labor Placeholders in a Template
One way to assign labor to projects is by creating a template that includes labor placeholders. These placeholders can be generic job titles or roles that you know you'll need for the project. For example, you might include placeholders for a crew lead, painter, or install tech.'
This works well when the service your company provides is repeatable or formula based. For example, if you build estimates based on the square footage of an area and pay your subcontractor per square foot, you can have labor costs automatically calculated to streamline production once the job is sold.

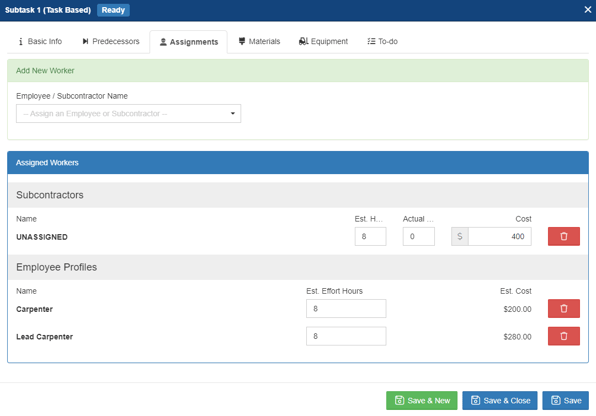
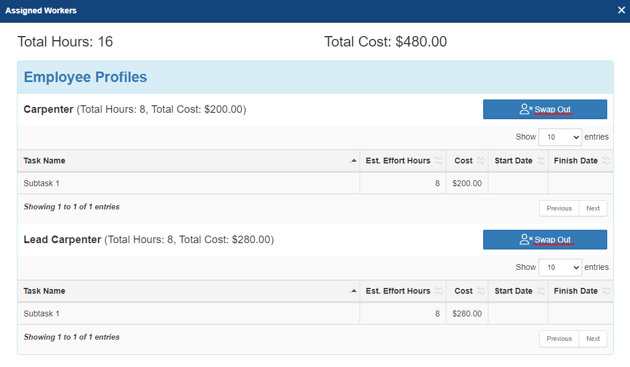
When you're ready to schedule the project, easily replace the placeholders with the actual employee or subcontractor who will be working on the project by clicking Workers or Subcontractors along the top of the scope and selecting Swap Out.

Method 2: Add Labor to Subtasks After the Project is Sold
Labor can also be assigned at any point throughout the project's lifecycle, including after the job is sold. Once the project is sold, create subtasks for task group on the Grid view and assign them to the appropriate employee or subcontractor. This allows you to ensure that each task has the right person assigned to it.

Material Assignments
Track material costs and create a list of materials needed for every project by either building these costs into the template or adding them when the project is scheduled. Before you’re able to assign materials, it helps to have the list of materials available in the Inventory section of your Builder Prime account. If an unexpected material need arises, you are still able to create and add this material from the Project, too.
Method One: Preassign Materials in Your Template
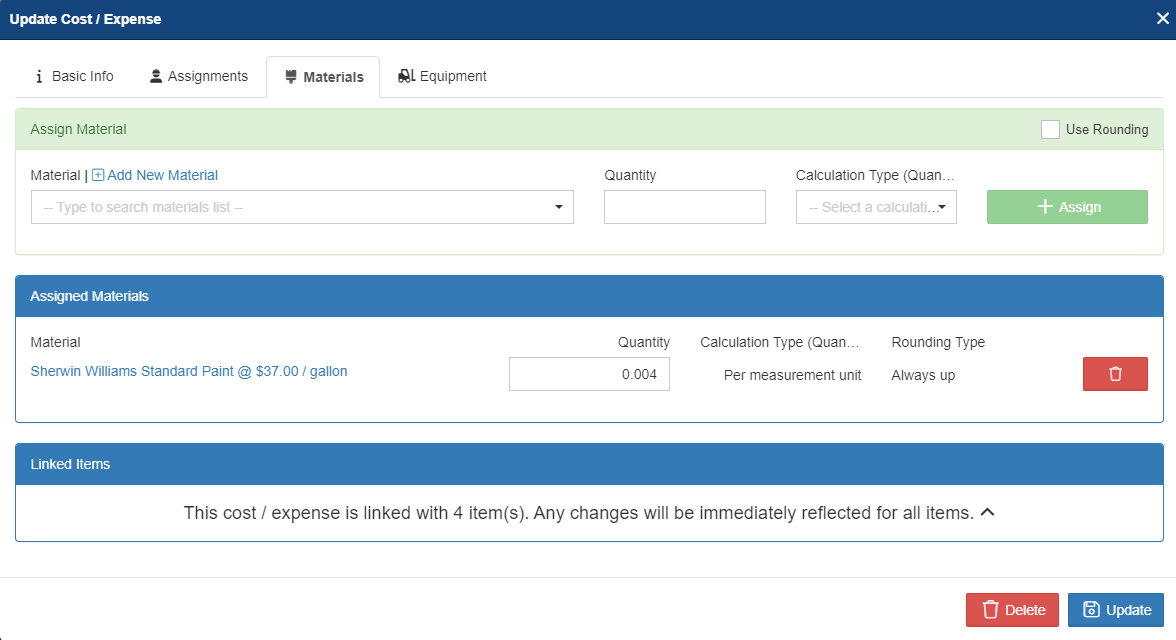
Materials can be built into a project template for both Task-Based and Price Book options. When building these into the template, you have the option of linking the materials to a quantity for a measurement unit or by the overall material needed for that one line item. Task-Based Template materials are assigned to the Materials tab within a subtask, and Price Book materials are added to a Cost/Expense within an Item or Addon.
Unsure how much to assign? A simple formula to help you template your costs for a measurement unit is to know how much coverage the material provides and then divide that into the material unit. Example: 1 gallon of paint might cover 250 square feet; 1 divided by 250 = 0.004 gallons needed per square foot.

When building the estimate, your materials and material costs are automatically calculated for you. Updates can still be made if anything varies from the template by switching to the Grid view and making adjustments within the subtask.
Method Two: Add Materials As You Go
If you are typically unsure what materials will be needed for each project, you are still able to add them at any point before, during, or after the project. This is accomplished by creating a subtask on the project grid view to add the material assignments.
Regardless of which method you use, you are able to review and export a list of materials needed or used during the project by clicking the Materials button on the Project Scope tab.
-1.png?width=100&height=75&name=original-tar-ruler%20(1)-1.png)