Contract Defaults
Builder Prime has a base contract template that can be customized with your payment schedule and terms and conditions. If you're looking for more customization, you will have the ability to create your own contract to cater to your specific projects.
In this article, we'll explore how to set up the default options and what options are available for customizing the base template.
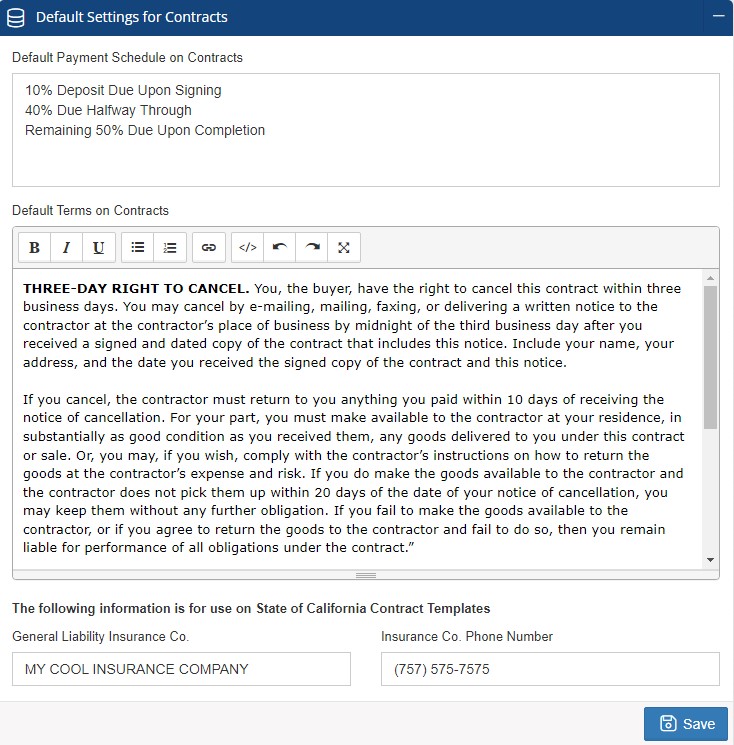
Default Payment Schedule and Terms and Conditions
The default information entered here will be pulled into every contract. If you are setting up multiple contract templates, this information will be used if the templated sections are blank. Underneath the Terms and Conditions, there is a section for our California contractors to enter their insurance information.
Contract Templates
Under the default settings, there is a default standard contract and the option to create new contract templates. Below, we'll go through the different settings available and how these affect the final contract. A real-world example of having different contract templates is for residential vs commercial. Each type may have a unique set of terms and conditions that need to be included in the contract. Another example is if you have multiple project types and need different information included in the contract for each type.
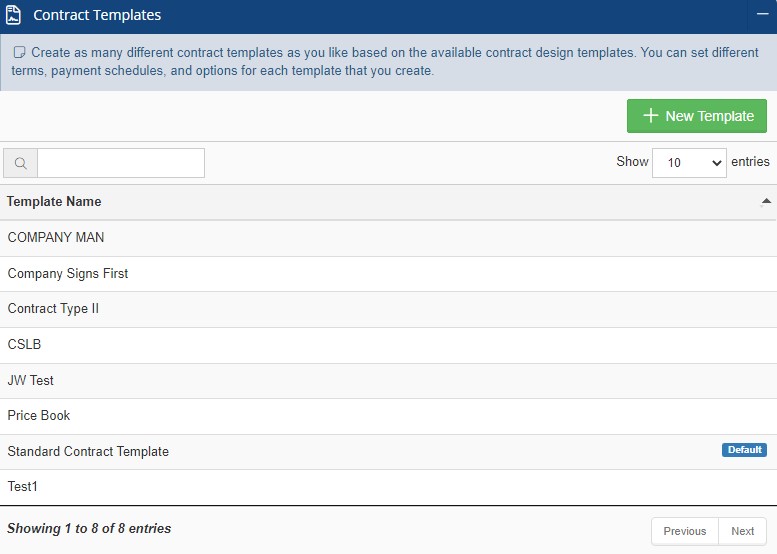
Click + New Template to create a new contract template.
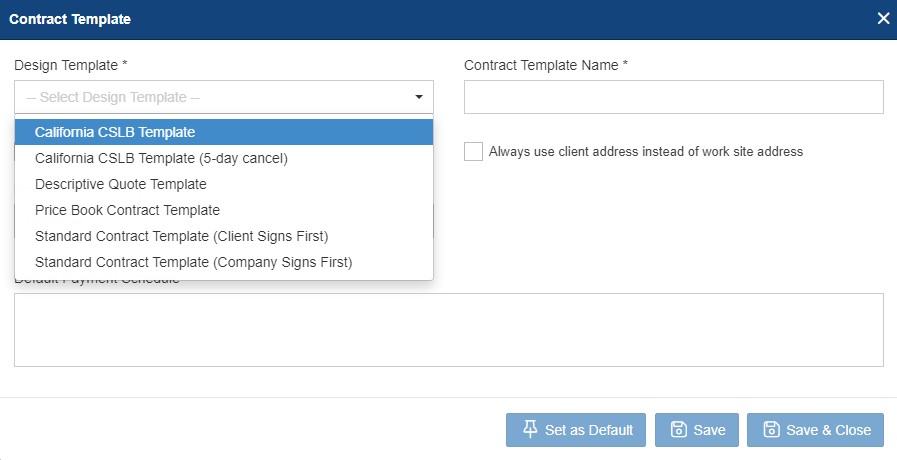
Design Templates
- California CSLBs - These templates follow the legal requirements for the state of California. There are options for the standard CSLB as well as the 5-day CSLB for California residents over the age of 65.
- Descriptive Quote - This template layout is focused on text with the grand total being written out in addition to the numerical value. The payment schedule is grouped with the terms and conditions underneath the scope of the project.
- Price Book - This template is designed to be used in conjunction with estimates built using Price Book. It will include the stock images and has a layout that is complimentary to the Price Book structure.
- Standard - This is the most popular contract template and has options for those who need to sign the contract first. The payment schedule is located next to the grand total with the terms and conditions underneath.
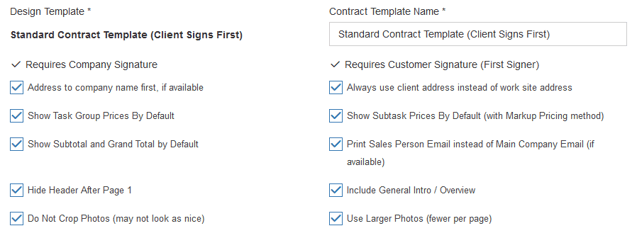
Contract Template Name: Add a name for the contract. If this is being used for a specific project type, you can include that in the template name.
Client address vs work site address: The default is for the contract to include the work site address, but if you'd like to always use the address from the client record, then check this box here.
Address to company name first, if available: For commercial projects, this would include the company's name before the contact's name.
Show Task Group Prices by Default: This will include the line item pricing. If this is not checked, it will still show the line items, but the pricing will be grouped together for the subtotal and grand total.
Show Subtask Prices by Default: This is primarily for Markup Pricing when marking up the entire project. It will show the subtasks and pricing on the contract.
Show Subtotal and Grand Total by Default: This will include the subtotal above the grand total.
Print Sales Person Email instead of Main Company Email: Instead of using the company email address on the contract, this will replace it with the sales person's email address.
Hide Header After Page 1: By default, all pages of the contract will include a header with the company logo. Hiding the header after the first page will remove this on subsequent contract pages.
Include General Intro / Overview: You can include a message at the top of the contract. An example of this is a message of gratitude for the customer to thank them for trusting you to complete the work along with the best ways to contact the company with any additional questions.
Do Not Crop Photos: If this is selected, any photos appended to the contract will retain their aspect ratio rather than being cropped for uniform shape/size.
Use Larger Photos: There will be fewer photos per page, but the images appended to the end of the contract will be larger.
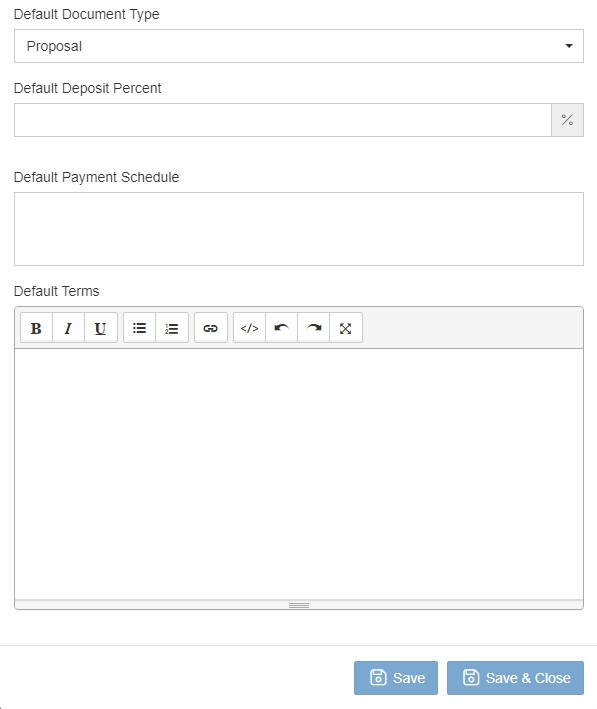
Default Document Type: Choose what you want your estimates to be labeled. The list includes proposal, quote, estimate, contract, agreement, and change order.
Default Deposit Percent: This will include the deposit amount on the contract.
Default Payment Schedule and Terms: Anything here will overwrite what is already set up as the default payment schedule on the main contract page.
How to Use a Different Contract Template
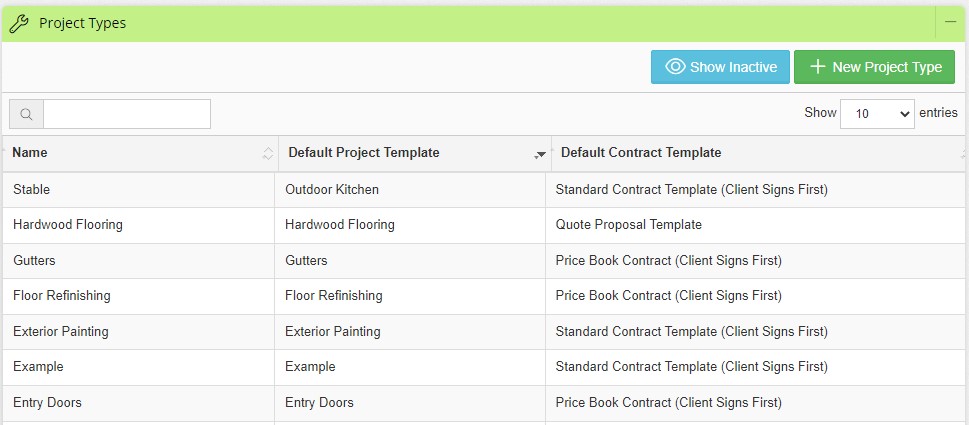
If the contract is for a particular project type, you can assign this template to be the default whenever the project type is selected. To do this, navigate to Admin > Configure > Project Settings. Under Project Types you can add the project type and assign the contract template.
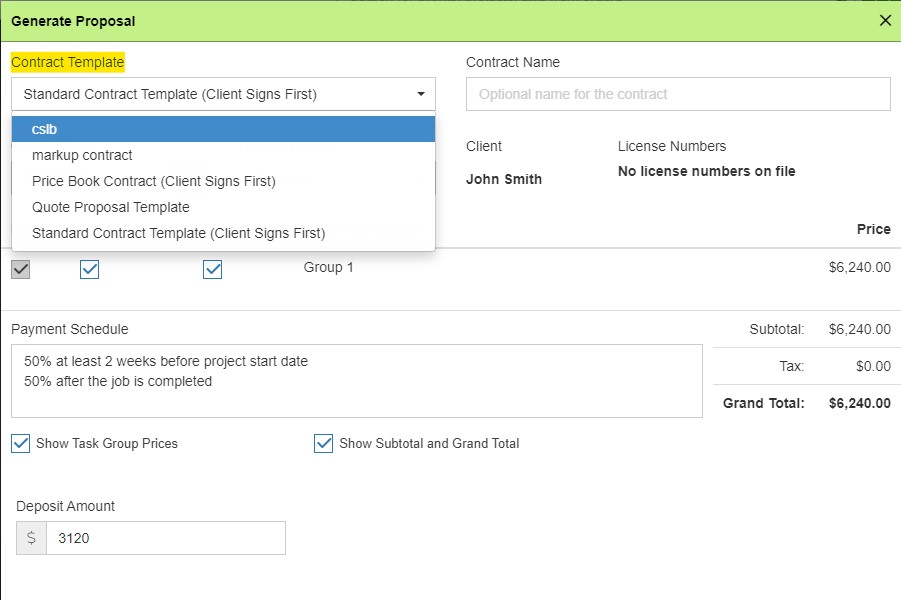
Alternatively, you can select a contract template when generating the contract itself. Simply select the desired template from the dropdown after clicking the button to generate a contract.
Adding Contract Attachments
Did you know you can also add default attachments to contract templates? Click HERE for instructions.
-1.png?width=100&height=75&name=original-tar-ruler%20(1)-1.png)